Ever feel like your email signature could use a bit more PUNCH?
There are lots of ways to do that and below we’ll discuss how to add a bit of color, links and even an image (as long as it’s embedded!). Also there are a number of services that can streamline this process and enhance your email signature, and they’re worth checking out at the bottom as well.
Most importantly, though, if you spend the time to make it look good, you want it to be seen, right?
With gmail’s new compose window (which we discussed here), email signatures are often “hidden” as trimmed content in an email exchange as you can see here:
To undo this, go to your gmail signature settings and click the option “Insert this signature before quoted text in replies and remove the “– – ” line that precedes it.
NB WriteThat.name does rely on the “– ” to accurately detect contact info and update address books, so we suggest you give this a try instead —> 1) adding your AddMe first, 2) then the “—- “, 3) then your signature— that way your contacts at least have the possibility to automatically grab your info and update it in their address book.
Before you add a bit of PUNCH, check out what others are doing first!
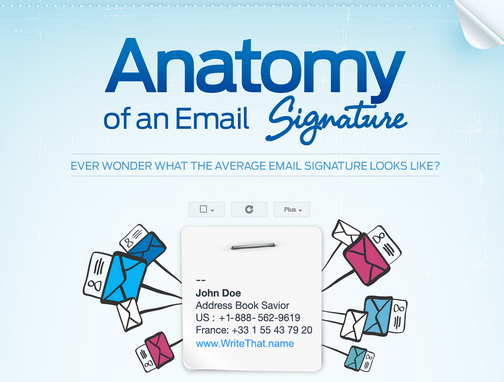
You can add almost anything you want to a signature, but sometimes less is more as well. To better differentiate your signature, take a peek at an infographic we just released on the anatomy of an email signature. You might be surprised what most folks are or are not doing with their email signatures!
SO, NOW TO THE PUNCH!
In gmail, go to the gear icon in the upper right corner of your browser, then click Settings. You can go there directly by clicking here as well.
1) Enter any text you’d like in the “Signature” box at the bottom of the page. Some people separate roles, names, telephone numbers by a | putting 1,2 or 3 pieces of information per line. I like spacing things out a bit and trying to stay under 3 or 4 lines (more is less philosophy).
2) Use the tools above the text window to add a bit of punch to your signature (color, bold, highlight etc).
3) To add an image to your signature, click the “Insert image” icon, and you’ll be asked for a URL— this is the best way to add an image as if you try to copy/paste an image or “attach” one in any other way, it’ll often end up as an attachment for the people you exchange email with. Not great.
If you’re adding your company logo, you can easily see what your colleagues have added and how they’ve anchored the image (when you see the image in the browser, a right-click will provide the option to “Copy image URL”).
4) In the edit window you can select/highlight any text or image and add a hyperlink so that your correspondents can click directly on that link and be taken to your twitter page, call you, or click on your company logo to go to your website. Once you do this, the text should change color and become underlined.
5) Most importantly, after making these changes, click “Save Changes” at the bottom of your settings, and send yourself a test email so you can see what your email signature looks like before sharing it with the world!
NB If you send email “from” multiple addresses in Gmail, you can actually set a different signature for each address in the General tab of your settings. Choose the second radio button in the “Signature:” section, use the drop-down menu to choose the appropriate address and set the signature you want.
OTHER COOL SERVICES WORTH CHECKING OUT
Many WriteThat.name users love Wisestamp for its email signature customizations— you can easily add your most recent tweets, blog posts, professional templates, and it offers company wide solutions as well.
We’ve heard good things as well about Hancock.it (which provides company-wide email signature branding), and Sigbuzz and EmailSignatureRescue which also allow you to enhance your email signatures much like Wisestamp.
NOW, GO ROCK OUT YOUR SIGNATURE!!! And feel free to share any other pointers you might have below in the comments.


